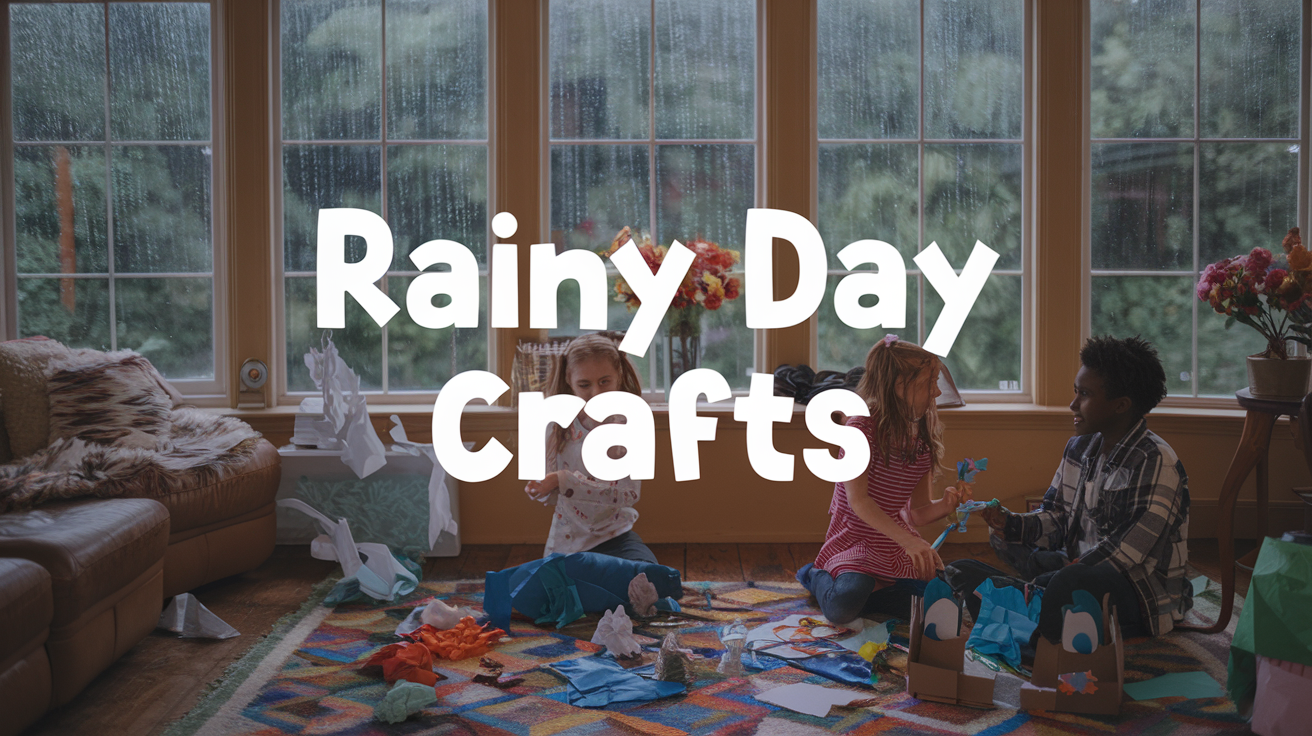
🌧️ Rainy days can turn even the most energetic kids into couch potatoes, leaving parents scrambling for ways to keep them entertained. The pitter-patter of raindrops against windows often signals the start of indoor confinement and the dreaded cry of “I’m bored!” But what if we told you that these gloomy days could be transformed into exciting adventures filled with creativity and fun?
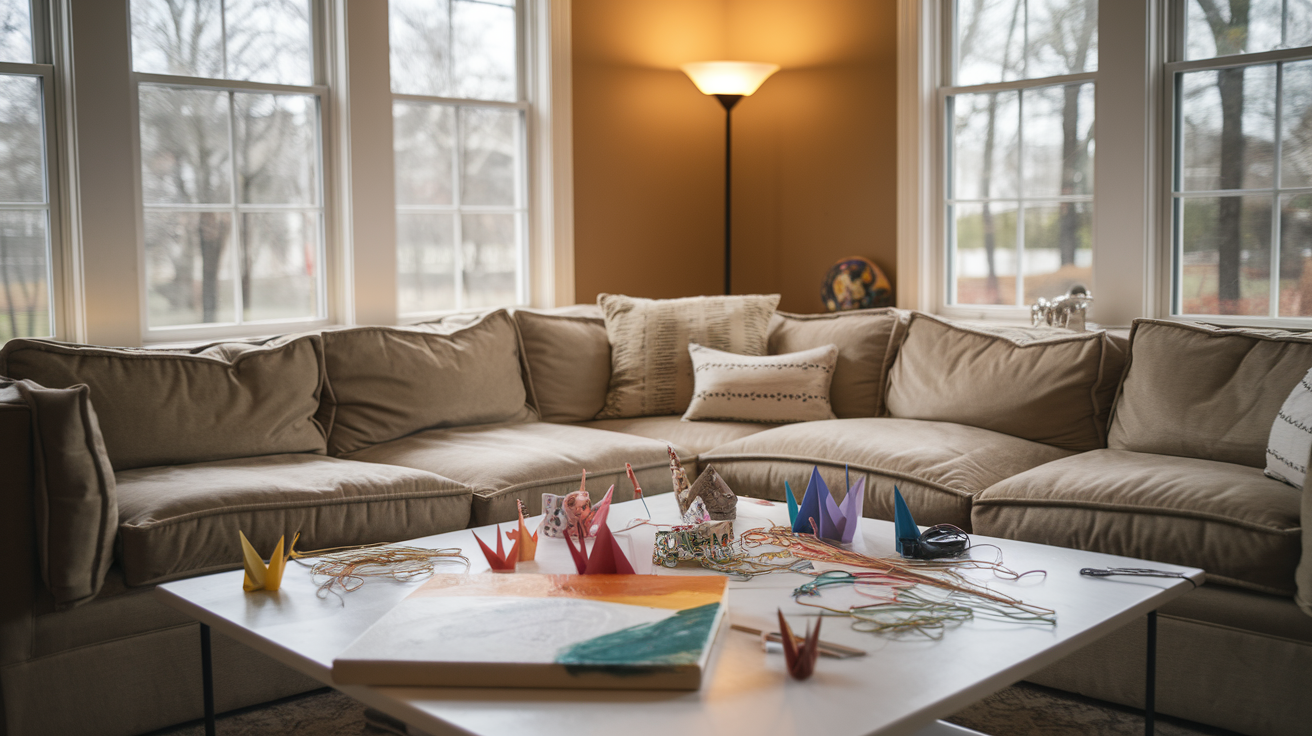
Imagine turning your living room into a bustling craft studio, where boredom doesn’t stand a chance. From paper airplanes soaring across the room to homemade musical instruments creating a family band, the possibilities are endless. These indoor crafts not only keep little hands busy but also spark imagination, develop skills, and create lasting memories. Ready to turn those rainy day blues into colorful, crafty hues? Let’s dive into 8 amazing indoor crafts that will have your kids forgetting all about the weather outside! 🎨✂️🎵
Paper-based Crafts for Instant Fun
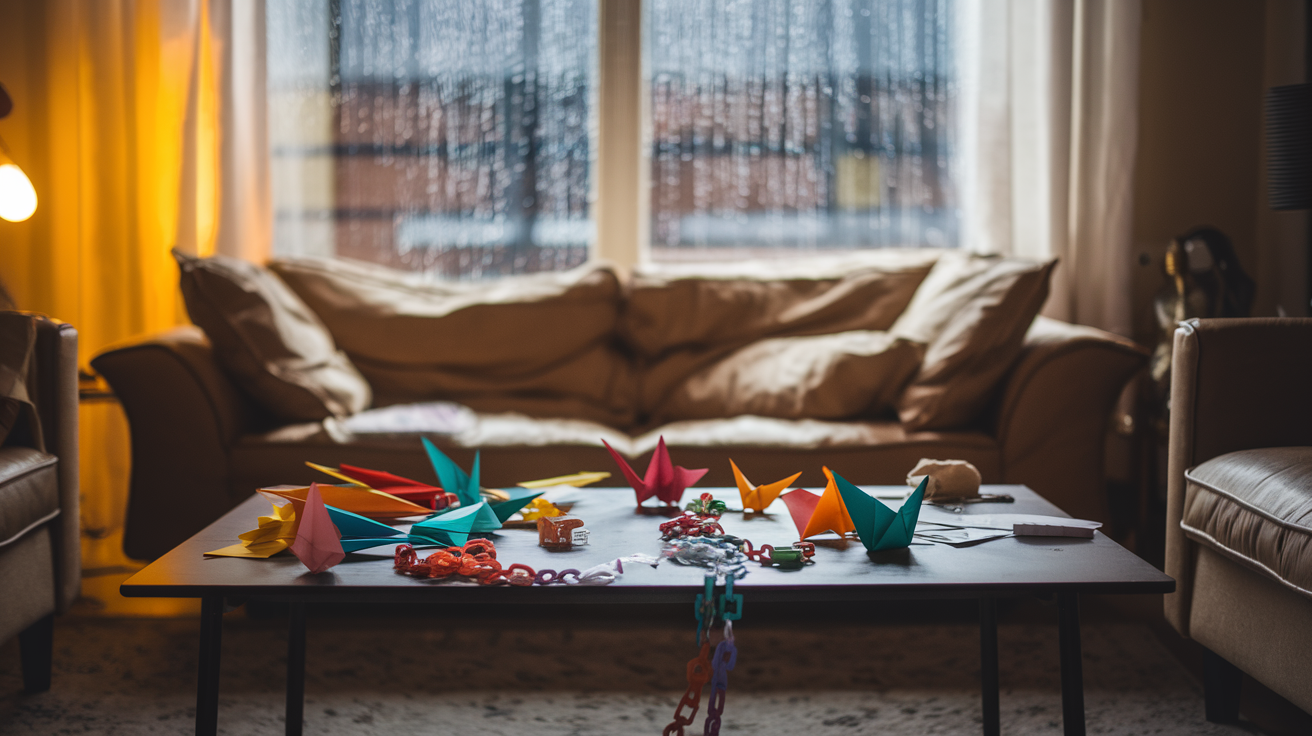
Origami animals: Fold your way to a personal zoo
Dive into the enchanting world of origami and create your very own paper menagerie! This ancient Japanese art form is perfect for rainy days, offering endless possibilities for crafting adorable animals. Start with simple designs like dogs, cats, or birds, then progress to more challenging creatures like elephants or giraffes. Here’s a quick guide to get you started:
- Choose colorful origami paper
- Follow step-by-step instructions
- Practice patience and precision
- Experiment with different sizes
| Animal | Difficulty Level | Estimated Time |
|---|---|---|
| Dog | Beginner | 5-10 minutes |
| Crane | Intermediate | 15-20 minutes |
| Dragon | Advanced | 30+ minutes |
Paper airplanes: Design and race your creations
Take flight with the classic art of paper airplane making! This craft combines creativity with a dash of physics, allowing kids to design, build, and test their own flying machines. Start with basic designs and gradually introduce more complex folding techniques. Here are some ideas to elevate your paper airplane experience:
- Organize a distance competition
- Set up obstacle courses
- Experiment with different paper types
- Decorate planes with stickers or markers
Remember, the key to a great paper airplane is in the fold! Precise creases and symmetry will help your plane soar. Now that we’ve explored these paper-based crafts, let’s move on to some exciting painting projects that will unleash your creativity.
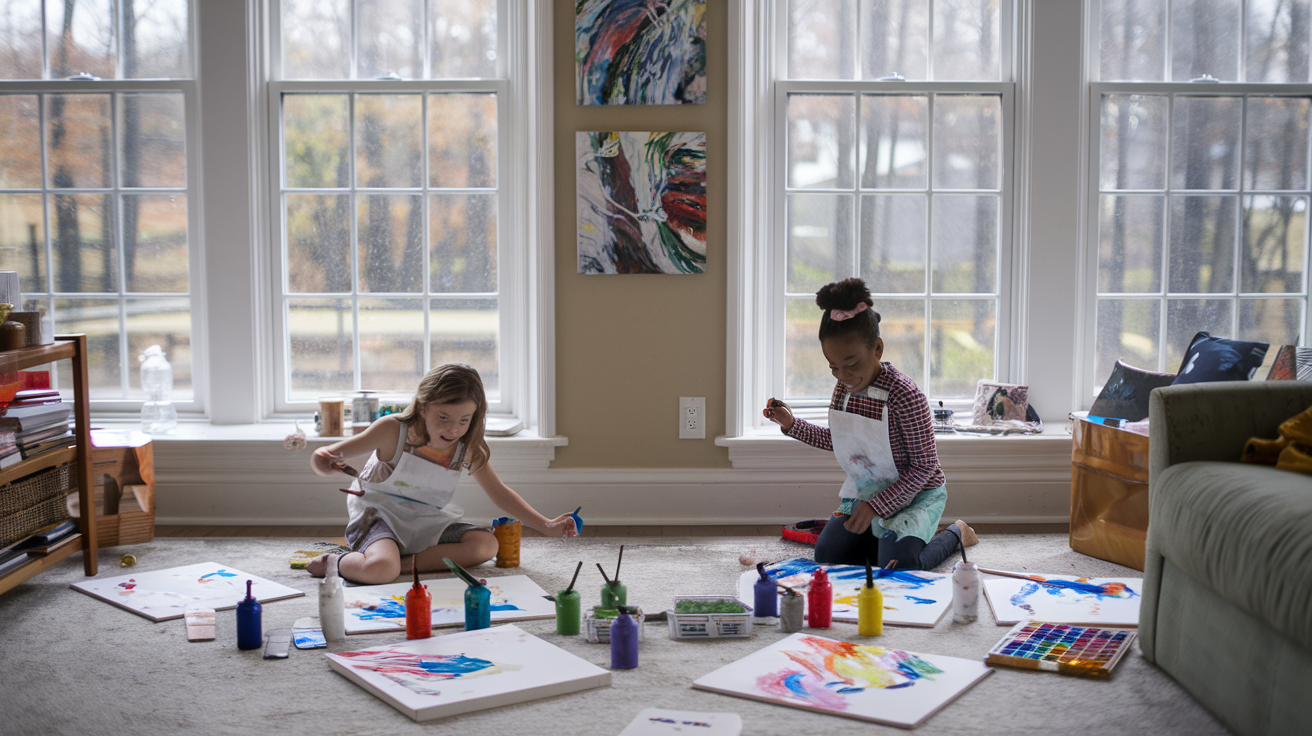
Painting Projects to Unleash Creativity
Rock painting: Turn pebbles into works of art
Transform ordinary pebbles into extraordinary miniature masterpieces with rock painting! This engaging craft is perfect for unleashing creativity on a rainy day. Start by collecting smooth, flat rocks from your garden or local craft store. Clean them thoroughly and let them dry.
Next, gather your painting supplies:
- Acrylic paints
- Paintbrushes of various sizes
- Sealant spray
- Optional: paint pens for fine details
Let your imagination run wild as you paint vibrant designs, cute animals, or inspiring messages on your rocks. Here’s a simple step-by-step guide:
- Apply a base coat of paint
- Add your main design
- Include intricate details
- Allow the paint to dry completely
- Seal the painted rock for longevity
| Design Ideas | Difficulty Level | Time Required |
|---|---|---|
| Ladybugs | Easy | 30 minutes |
| Mandalas | Intermediate | 1-2 hours |
| Landscapes | Advanced | 2-3 hours |
Finger painting: Messy but memorable masterpieces
For a truly hands-on experience, dive into the world of finger painting! This messy yet incredibly fun activity is perfect for kids of all ages. Lay out a large sheet of paper or canvas on a protected surface and get ready to create colorful, tactile art.
To make the most of your finger painting session:
- Use washable, non-toxic paints
- Experiment with different finger techniques (dabbing, swirling, smearing)
- Try using both hands for symmetrical designs
- Incorporate handprints or footprints for added personalization
Remember, the goal is to have fun and express yourself freely. Don’t worry about perfection – embrace the unique textures and patterns that finger painting creates!
Now that we’ve explored these exciting painting projects, let’s move on to some cozy textile crafts that are perfect for a rainy day indoors.
Textile Crafts for Cozy Comfort

Friendship bracelets: Weave colorful accessories
Rainy days are perfect for creating cozy and colorful textile crafts. Friendship bracelets are a classic favorite that kids can easily make with just a few materials. Here’s how to get started:
- Materials needed:
- Embroidery floss in various colors
- Scissors
- Tape or safety pin
- Basic weaving techniques:
- Forward knot
- Backward knot
- Alternating knots
Start by choosing 3-6 strands of embroidery floss in different colors. Cut them to about 24 inches long and tie them together at one end. Secure the knotted end to a flat surface with tape or a safety pin. Then, begin weaving using the basic knot techniques. As you progress, you’ll see patterns emerge, creating a unique and personalized bracelet.
| Pattern Name | Difficulty Level | Number of Strands |
|---|---|---|
| Candy Stripe | Beginner | 3-4 |
| Chevron | Intermediate | 6 |
| Diamond | Advanced | 6-8 |
No-sew pillowcases: Personalize your bedroom
For a larger textile project that doesn’t require any sewing skills, try creating no-sew pillowcases. This craft allows kids to express their creativity while adding a personal touch to their bedroom decor. Here’s a simple method:
- Materials needed:
- Fabric of choice (1 yard per pillowcase)
- Fabric scissors
- Fabric glue or iron-on adhesive tape
- Iron (if using adhesive tape)
- Decorative elements (optional)
Cut the fabric to size, leaving extra for hems. Fold and glue the edges to create neat hems. For added flair, consider incorporating decorative elements like fabric paint, iron-on patches, or ribbon trims. This craft not only results in a cozy new pillowcase but also teaches valuable skills in measuring, cutting, and design.
Now that we’ve explored some textile crafts, let’s move on to upcycling adventures with household items for even more creative possibilities.
Upcycling Adventures with Household Items
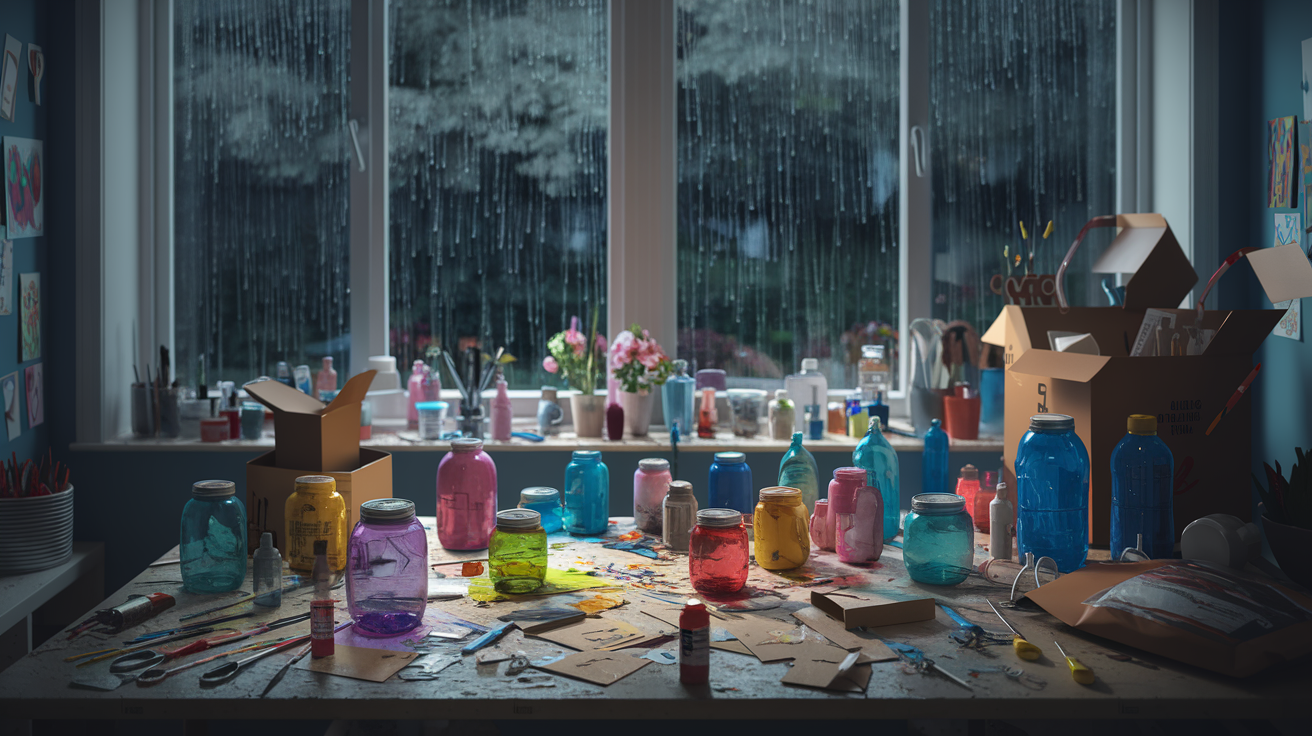
Tin can planters: Start an indoor garden
Transform ordinary tin cans into charming planters and create a mini indoor garden. This eco-friendly craft not only reduces waste but also introduces children to the joys of gardening. Here’s a simple guide to get started:
- Clean and decorate tin cans
- Add drainage holes
- Fill with potting soil
- Plant seeds or small plants
| Materials Needed | Tools Required |
|---|---|
| Tin cans | Hammer and nail |
| Paint or decorative paper | Scissors |
| Potting soil | Paint brushes |
| Seeds or small plants | Watering can |
Children can personalize their planters by painting vibrant designs or wrapping them in colorful paper. This activity teaches kids about plant care and responsibility while brightening up your indoor space.
Cardboard box castles: Build your own fortress
Turn plain cardboard boxes into magnificent castles, allowing children’s imaginations to soar. This craft encourages creativity, problem-solving, and hours of pretend play. Here’s how to create your cardboard kingdom:
- Collect various sizes of cardboard boxes
- Design and cut out windows, doors, and towers
- Paint or decorate the castle exterior
- Add details like flags, drawbridges, or moats
| Castle Features | Decorative Ideas |
|---|---|
| Turrets | Aluminum foil armor |
| Drawbridge | Fabric banners |
| Moat | Blue paper or fabric |
| Battlements | Toilet paper roll guards |
This upcycling project not only provides endless entertainment but also teaches children about medieval architecture and history. As they construct their fortress, kids develop spatial awareness and fine motor skills.
Now that we’ve explored creative ways to repurpose household items, let’s move on to some delicious crafts that combine art with treats.
Edible Crafts for Tasty Entertainment
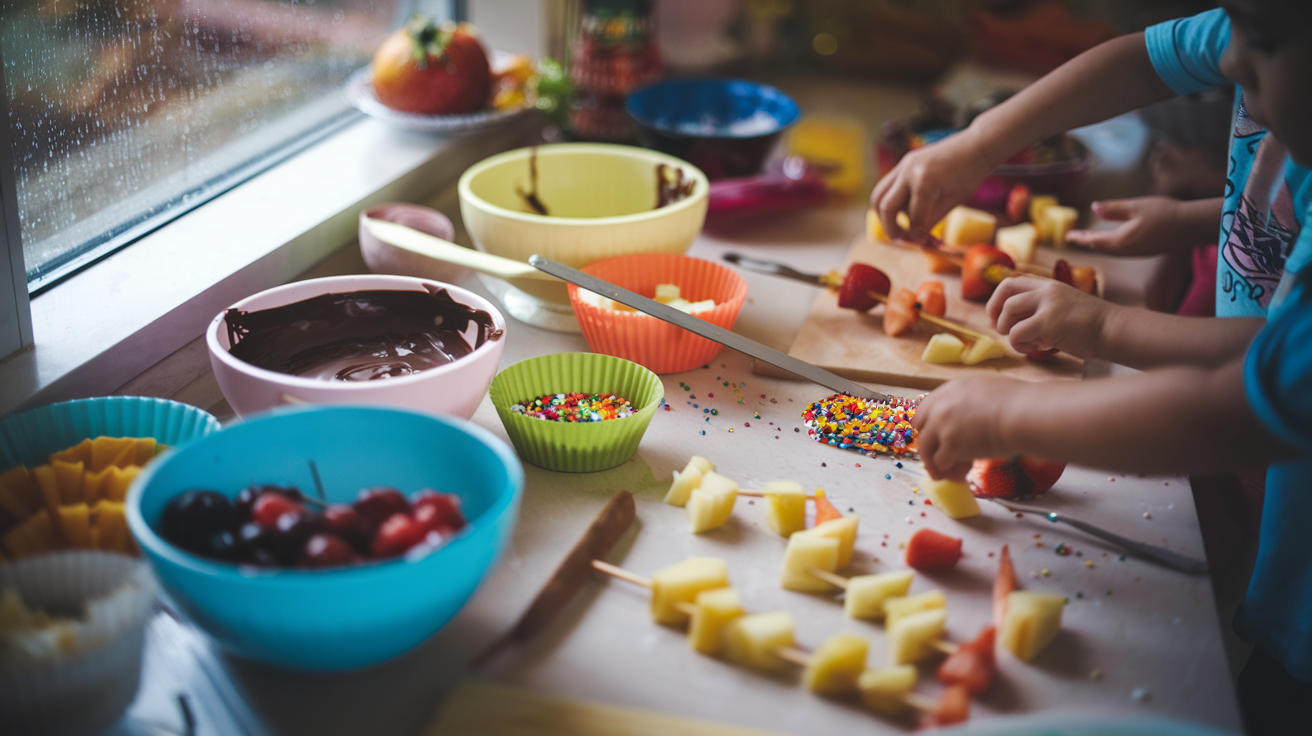
Cookie decorating: Design delicious treats
When the rain keeps you indoors, cookie decorating is a delightful way to engage children in a tasty and creative activity. This craft combines the joy of baking with artistic expression, making it a perfect rainy day activity for kids of all ages.
Here’s a simple guide to get started:
- Prepare sugar cookies (homemade or store-bought)
- Make or buy icing in various colors
- Gather decorative toppings (sprinkles, candy, etc.)
- Set up a decorating station
| Cookie Shape | Decoration Ideas |
|---|---|
| Circles | Smiley faces, flowers, planets |
| Stars | Night sky, patriotic themes |
| Hearts | Valentine’s Day, love messages |
| Animals | Fur textures, facial features |
Let your child’s imagination run wild as they transform plain cookies into edible masterpieces. This activity not only keeps kids entertained but also enhances fine motor skills and creativity.
Fruit sculptures: Play with food, guilt-free
Turn ordinary fruits into extraordinary works of art with this engaging and healthy craft. Fruit sculpting allows children to play with their food while creating visually appealing and nutritious snacks.
Here are some fun fruit sculpture ideas:
- Watermelon sharks
- Apple swans
- Banana dolphins
- Orange flower bouquets
| Fruit | Sculpture Ideas |
|---|---|
| Apples | Hedgehogs, rabbits |
| Melons | Flower baskets, turtles |
| Berries | Butterfly wings, polka dots |
| Citrus | Sunbursts, fish scales |
This activity not only keeps kids occupied on rainy days but also encourages them to eat more fruits. It’s a win-win situation that combines creativity with healthy eating habits.
Now that we’ve explored edible crafts, let’s move on to some exciting science-based activities that will spark curiosity in young explorers.
Science-based Crafts for Young Explorers

Slime making: Experiment with textures
Get ready to dive into the gooey world of slime! This hands-on experiment is perfect for young scientists who love to explore different textures.
Musical Instrument Crafts for Budding Musicians

Rain sticks: Mimic the sound of falling rain
Transform a rainy day into a musical adventure by crafting your own rain stick! This simple yet captivating instrument mimics the soothing sound of falling rain, perfect for budding musicians and nature enthusiasts alike.
To create your rain stick, you’ll need:
- Cardboard tube (from paper towels or wrapping paper)
- Small nails or toothpicks
- Dry rice or small beads
- Decorative paper or paint
- Scissors and glue
Follow these steps to make your rain stick:
- Push nails or toothpicks through the sides of the tube in a spiral pattern
- Seal one end of the tube with paper or tape
- Pour
Digital Crafts for Tech-savvy Kids

Stop-motion animation: Bring toys to life
In the age of digital creativity, stop-motion animation is a perfect craft for tech-savvy kids to explore on rainy days. This engaging activity combines traditional play with modern technology, allowing children to bring their favorite toys to life through a series of still images.
To get started, you’ll need:
- A smartphone or tablet with a camera
- A stop-motion app (many free options available)
- Toys or objects to animate
- A stable surface or tripod
Here’s a simple process to create a stop-motion animation:
- Set up your scene
- Take a photo
- Move objects slightly
- Take another photo
- Repeat steps 3-4 until your story is complete
| Pros | Cons |
|---|---|
| Encourages storytelling | Can be time-consuming |
| Develops patience | Requires a steady hand |
| Teaches basic film techniques | May need parental supervision |
Digital collages: Create art on your tablet
Another exciting digital craft for kids is creating collages on tablets or smartphones. This activity allows children to express their creativity using various digital tools and techniques, resulting in unique and colorful artworks.
Popular apps for digital collages include:
- PicCollage
- Canva
- Adobe Photoshop Express
Kids can use these apps to:
- Combine photos and graphics
- Add text and stickers
- Apply filters and effects
- Experiment with layouts and backgrounds
Digital collage-making not only keeps children entertained but also helps them develop valuable digital skills that will serve them well in the future.
Now that we’ve explored these tech-savvy crafts, let’s look at how all these indoor activities can benefit children’s development and creativity.
Rainy days no longer need to be synonymous with boredom. With these eight diverse and engaging indoor craft ideas, children can transform dreary afternoons into exciting adventures of creativity and learning. From paper crafts and painting projects to upcycling household items and creating edible art, there’s something to suit every child’s interests and skills.
Remember, crafting is not just about keeping kids occupied; it’s an opportunity for growth, self-expression, and family bonding. So, the next time rain clouds gather, embrace the chance to explore these fun indoor activities. Turn those gloomy days into cherished memories of creativity, laughter, and imagination running wild.